Revive Your Ring: A Simple Guide to Restoration
Your wedding band deserves a fresh look! In this guide, you’ll learn how to restore your wood inlay wedding band in just six easy steps. Get ready to bring back its shine!
What You’ll Need to Get Started
Gather these items to make your restoration smooth and effective!

Step 1: Gather Your Supplies
The Foundation of a Flawless Finish: What You Can't Skimp On!Start by collecting all the necessary supplies to ensure you have everything on hand for a smooth restoration process. You’ll need the following items:
Gather these supplies and set up your workspace. Make sure it’s clean and well-lit, as you’ll want to see every detail while you work. Having everything ready will set the stage for a successful restoration!

Step 2: Clean Your Band
Say Goodbye to Grime: The Secret to a Sparkling Surface!Wipe down your band with a soft cloth to eliminate dirt, grime, and oils that may have accumulated over time. Start by holding your ring in one hand and gently rubbing the cloth against both the metal and wood areas. Pay special attention to the wood inlay as this will help prepare it for polishing.
Use a slightly damp cloth if needed, but avoid soaking your band—water can damage the wood. Imagine the satisfaction of seeing a clearer, shinier surface emerge as you clean.
It’s essential to ensure a clean base for the polish to adhere effectively. After you finish, inspect your band closely to confirm that all dirt has been removed, giving your ring the best shot at a perfect finish!

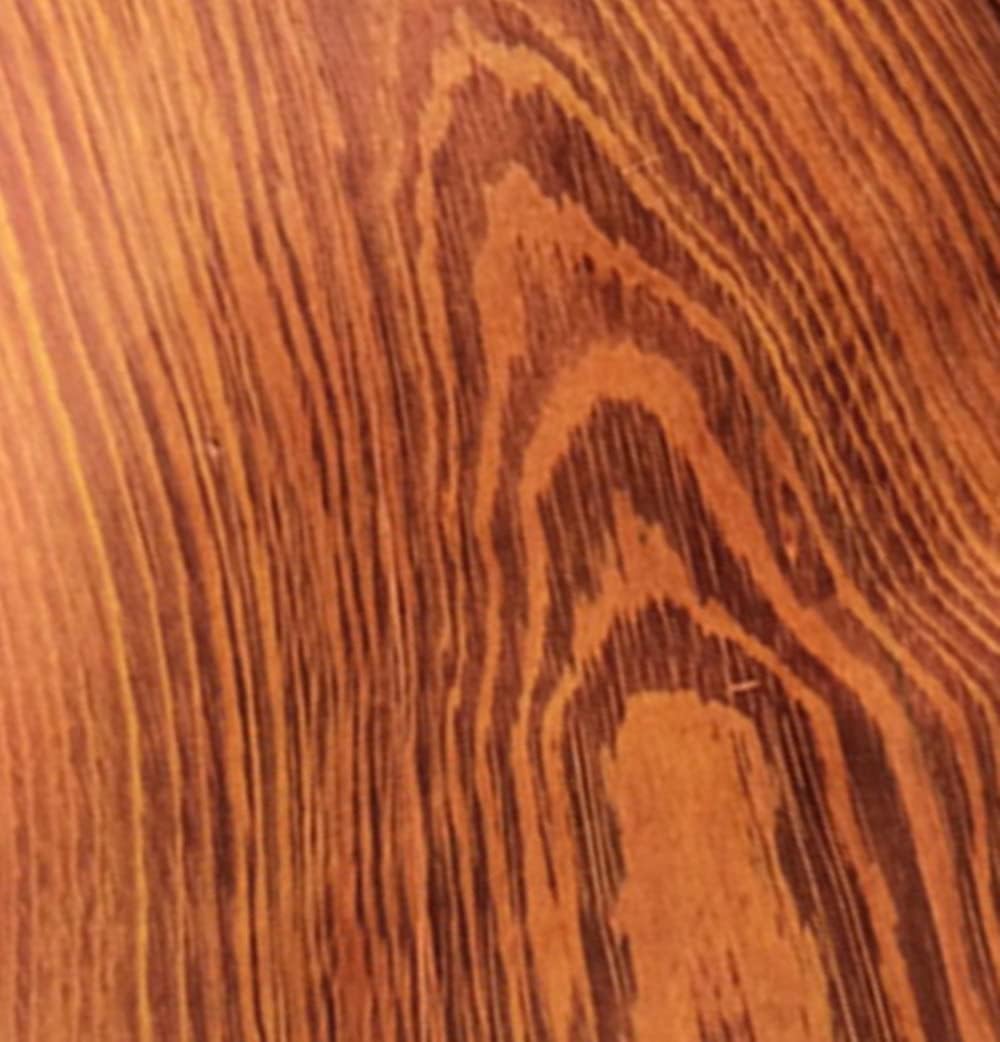
Step 3: Sand the Wood Inlay
Smooth Moves: Why a Little Sanding Makes a Big Difference!Grab your fine sandpaper and gently sand the wood inlay. This step is vital for eliminating scratches and imperfections, allowing the wood’s natural beauty to shine through. Use a smooth, circular motion and apply light pressure—think of it as giving your band a little massage.
Start sanding one section at a time, focusing on areas that feel rougher or have visible marks. If you feel more comfortable, you can use a small piece of wood or a sanding block to help maintain even pressure.
After your first pass, wipe the dust away with a soft cloth to check your progress. You’re not looking for perfection in this step, just a smooth surface ready for that beautiful polish to come!

Step 4: Apply Wood Polish
Unlock the Shine: Transform Your Ring's Appearance Instantly!Grab your small brush and dip it into the wood polish. This step is crucial for rejuvenating the inlay and enhancing its natural color. Start at one edge of the wood inlay and gently brush the polish onto the surface, moving in the direction of the wood grain. This technique ensures even coverage and prevents any pooling.
Consider using a bit more polish around any grayed or faded areas. Visualize the difference as the polish seeps in, bringing the wood back to life with a vibrant glow. Make sure to coat the entire inlay—this protective layer will not only nourish the wood but also help guard against future wear and tear.
After applying, let the polish sit for a few minutes, allowing it to soak in and work its magic!

Step 5: Apply Clear Lacquer
Seal the Deal: The Ultimate Protection for Lasting Beauty!Once the wood polish has dried completely, it’s time to protect your hard work! Apply a coat of clear lacquer to the wood inlay. This step is essential for safeguarding the wood from future wear and tear while adding a beautiful shine.
Begin by selecting a small foam brush or spray can for a smooth application. If you’re using a brush, dip it lightly in the lacquer and brush it onto the wood, following the grain. For a spray, hold the can about 6-12 inches away and apply an even layer. Just be sure to use it in a well-ventilated area!
Imagine how amazing your ring will look with that extra gloss! Allow the lacquer to dry completely before handling the band again—this ensures a durable finish that will keep your wedding band looking great for years to come.

Step 6: Final Buff and Shine
The Grand Finale: Make Your Ring Sparkle Like New!After the clear lacquer has dried thoroughly, it’s time to give your wedding band a spectacular final touch! Grab a clean, soft cloth—preferably microfiber—and start buffing the wood inlay gently. This simple step greatly enhances the shine, making your band look as good as new.
Use circular motions to buff away any dust or unevenness left behind. Think of it like polishing a car; you want that smooth, glossy finish that catches everyone’s eye!
For a little extra love, you can apply a tiny bit of wood wax to the cloth before buffing—it can elevate the shine significantly. Once you’re done, admire your restored wedding band; it should now radiate elegance, reflecting the love and memories it represents.
Celebrate Your Restored Ring!
Now that your wood inlay wedding band looks stunning, wear it proudly! Try your hand at restoration, and don’t forget to share your beautiful results with others!