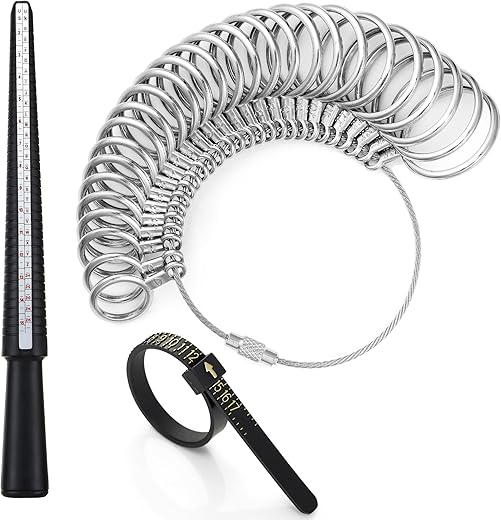
Unlock the Secret of Perfect Fit: Measuring Your Ring Size at Home
Discover how easy it is to find your perfect ring size at home with this simple guide! No need for a jeweler—just a few items from around your home and a little time. Get ready to make your ring shopping experience smoother than ever!
What You’ll Need: Gather Your Essentials
To measure your ring size at home, you’ll need a few simple items:
That’s it! No fancy tools required. Just gather these essentials and you’re ready to go!
Step 1: Choose Your Measuring Method
Are You a String or a Paper Person? Let's Decide!Decide between using string or a strip of paper for your ring size measurement. Each method has its perks, so choose the one that feels most comfortable for you.
Both options are effective! Remember, the key is to ensure it fits snugly but not too tight. If you’re unsure, try both methods to see which offers a more accurate reading.
Step 2: Prepare Your Measuring Tool
Get Ready for Precision: Measure Twice, Cut Once!Cut a piece of string or paper to approximately 6 inches long. Make sure it’s straight and even; any kinks or curves can distort your measurement, leading to an incorrect ring size. If you’re using string, a simple piece of thread will work perfectly.
For paper, opt for a thin, flexible strip—like a strip from printer paper—width should be about 1/4 inch.
Ensure that your measuring tool isn’t too long or bulky, as this could complicate the wrapping around your finger. You want something manageable that can easily conform to the shape of your finger.
Once you have your piece ready, you’re all set to move to the next step: wrapping it around your finger for the measurement!
Step 3: Wrap It Around Your Finger
The True Test: Comfort vs. Tightness!Now, wrap your measuring tool around the base of the finger you want to measure. It should feel snug but comfortable—think of it as a gentle hug around your finger!
If possible, do this measurement at the end of the day when your fingers are slightly swollen from daily activity; this will help you find an accurate fit. Adjust the strip until it feels just right, and let’s get ready for the next step!
Step 4: Mark Your Measurement
A Little Mark Goes a Long Way: Capture the Magic!With the string or paper wrapped snugly around your finger, make a small mark where the two ends meet. This mark is your measurement point!
This step is crucial—without a proper mark, the subsequent measurements could lead you astray. Once you’ve marked it, you’re all set to proceed to measuring the length for the next step!
Step 5: Measure the Length
Think You’re Done? Not Quite—Let's Get Accurate!Now, take your ruler and measure the length from the end of the string or paper to the mark you made. This step is essential because it provides the circumference of your finger, helping you calculate the correct ring size.
If you’re using a measuring tape instead, just read the measurement where the mark aligns. This numerical value brings you one step closer to finding your perfect ring size, so take your time and make it precise!
Step 6: Find Your Ring Size
The Moment of Truth: Converting Your Measurement to Size!Now that you have your measurement, it’s time to convert it into a ring size. Use a ring size chart, which you can easily find online, or try an online converter for a quick transformation. For instance, if your measurement is 5.5 cm, you can find that it typically corresponds to a size 6 in US measurements.
Voila! You’re ready to shop for that perfect ring—whether it’s an engagement ring, a birthday gift, or just for fun!
Congratulations! You’re Ready to Shine!
By measuring your ring size at home, you’ve empowered yourself to shop smartly and confidently. No more guesswork—just perfect rings that fit beautifully! Give it a try and share your results with friends. Happy shopping, and let your fingers dazzle!


