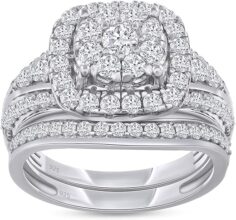
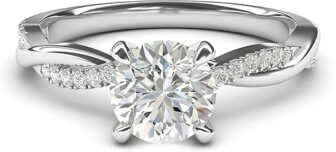
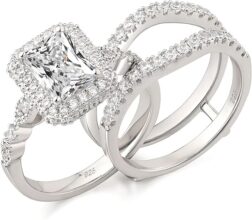
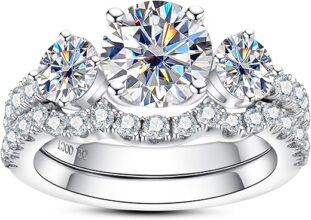
Discover the Art of Restoration
Learn how to breathe new life into your pave diamond pieces with our easy restoration guide. This step-by-step process will help you assess their sparkle, clean them thoroughly, inspect for hidden damage, and make necessary repairs. Get ready to restore your diamonds to their original elegance!
What You’ll Need for Success

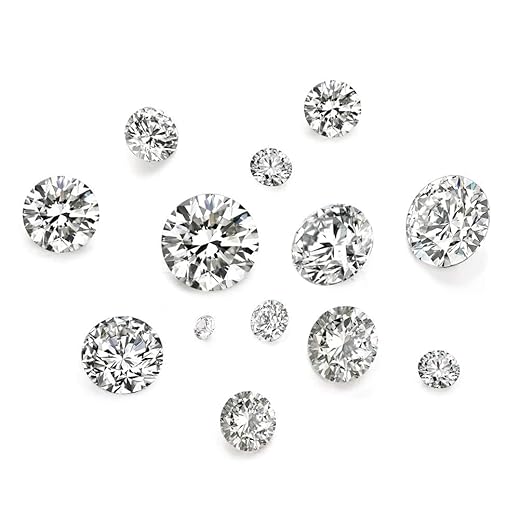
Assessing the Sparkle: A Crucial First Step
Is Your Pave Diamond Dull or Just Dirty?Inspect each diamond closely. Bring your piece into natural light, as this will help you see flaws and the amount of sparkle. Look for any dullness or cloudiness that could be hiding the true brilliance of your pave diamonds.
Check for dirt buildup. Use your fingertip to gently touch the diamonds and see if you can feel any residue. A significant amount of buildup indicates it’s time for a cleaning, while minor dullness may suggest the need for professional assistance.
Evaluate the overall appearance. How does your jewelry look from different angles? When tilted under light, do the diamonds shimmer beautifully or appear lifeless? Compare your piece with a similar one that you don’t wear as often; this will give you a clearer picture of its condition.
Make notes. Document any areas that catch your eye: scuff marks, loose diamonds, or uneven settings. This information is vital in planning your restoration journey and will guide your next steps effectively. Assessing the sparkle now sets the stage for a successful restoration!
The Perfect Clean: Washing Away Time’s Toll
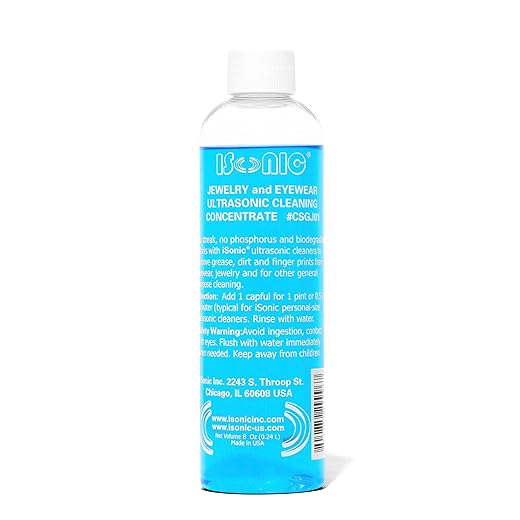
Can a Simple Clean Make Your Diamonds Shine Like New?Gather your supplies. Start with a soft-bristled toothbrush, mild dish soap, and a small bowl of warm water. Avoid harsh chemicals that can dull your diamonds.
Create a gentle cleaning solution. Mix a few drops of dish soap with warm water in your bowl. This will help break down dirt and grime without risking damage to your diamond’s shine.
Soak your jewelry. Place your pave diamond piece into the soapy solution for about 15-20 minutes. This soaking will loosen any stubborn residues accumulated over time.
Gently scrub the diamonds. After soaking, take the soft-bristled toothbrush and brush the surface of the diamonds gently. Focus on the areas where dirt tends to hide, like the tiny crevices around the stones.
Rinse thoroughly. Once you’ve scrubbed away the debris, rinse your jewelry under lukewarm water to remove any soap residue.
Dry carefully. Use a lint-free cloth to pat the piece dry. Avoid rubbing, as this can scratch the surface.
Now your pave diamonds will sparkle like new, setting the stage for further inspection of their condition!
Inspecting for Damage: The Hidden Risks
What If Your Diamonds Are in More Trouble Than You Think?Examine your settings closely. Take a moment to inspect all the tiny diamond settings. Use a magnifying glass if necessary, and look for any stones that appear loose. Gently press on them with your fingertip. If they wiggle, it’s a sign that the setting might be compromised.
Check for chips and scratches. Run your finger along the edges of each diamond to feel for any nicks or rough spots. These imperfections can compromise both the beauty and integrity of your jewelry. Bright lights or natural sunlight will reveal these flaws more easily.
Evaluate the metal. Look at the metal surrounding your pave diamonds. If you notice any tarnishing, discoloration, or signs of wear, make a note. This can occur especially with softer metals like silver or white gold, which may need polishing or replating.
Identify potential risks. Early detection of damage can save you from costly repairs later. If you find any issues, consider seeking professional help. For instance, a loose stone can lead to loss if not addressed promptly.
By thoroughly inspecting your pave diamonds, you can ensure they maintain their stunning allure for years to come!
Repairing the Setting: Keeping Your Diamonds Secure
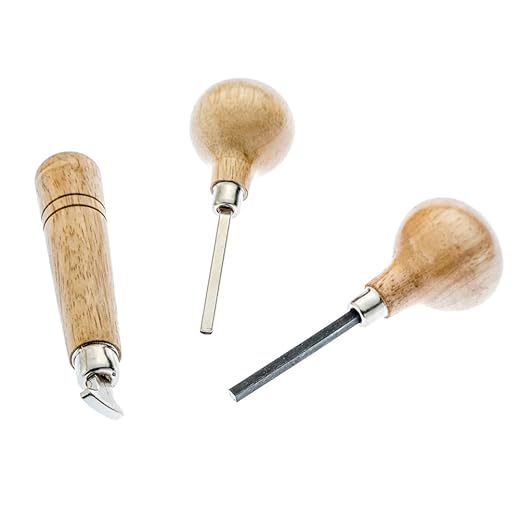
Is Your Jewelry as Safe as It Should Be?Tighten loose stones. If you noticed any stones wiggling during your inspection, it’s time to act. With a pair of fine tweezers, grasp the loose diamond carefully and check the prongs. If they’ve become bent, gently push them back into place. Be cautious—excessive pressure can damage the stone.
Utilize a professional tool for settings. For a more secure fix, consider using a prong-pusher tool, available at most craft or jewelry supply stores. Place the tool against the prong and gently press down to secure the stone. This simple move can give you peace of mind that your diamonds are firmly in place.
Look for missing stones. If you find a stone is missing, don’t panic! Take your piece to a jeweler who can replace it. They can also assess whether the setting needs reinforcement to prevent future losses.
Evaluate the overall integrity. After tightening, examine the entire setting. Ensure there are no signs of wear or damage. Rely on a trusted jeweler for any structural repairs beyond simple fixes, ensuring your diamonds remain secure for years to come.
Finishing Touches: Polishing for Perfection
Can You Really Make Your Jewelry Look Brand New?Gather your polishing supplies. Get a high-quality jewelry polishing cloth and a specialized jewelry cleaner safe for diamonds. Avoid abrasive materials that can scratch your piece.
Use a polishing cloth. Start by taking your polishing cloth and gently rubbing the surface of your pave diamond piece. Use circular motions to buff the metal around the diamonds, which will help remove any remaining tarnish and restore its shine.
Apply jewelry cleaner. For a more thorough clean, apply a small amount of the jewelry cleaner to a soft, lint-free cloth. Carefully wipe down the diamonds, ensuring you get into all the tiny crevices where dust might linger.
Rinse if necessary. If your cleaner requires rinsing, do so under lukewarm water. Be cautious not to dislodge any stones during this process.
Final polish. After rinsing, use a dry section of your polishing cloth to buff the piece one last time. This final touch will enhance the sparkle of your diamonds, giving your jewelry that coveted showroom shine.
With these steps, your pave diamond piece will gleam beautifully, ready to dazzle on any occasion!

Your Pave Diamonds Deserve the Best
Now that you have the steps to restore your pave diamond elegance, it’s time to give it a try! Embrace the process and watch your diamonds shine like new. Don’t forget to share your stunning results with friends—your pave diamonds deserve to dazzle!