Unlock the Shine: Your Ceramic Wedding Band Awaits!
Discover the secrets to restoring the brilliance of your ceramic wedding band in just six easy steps. With a little care and the right approach, you can say goodbye to dullness and hello to a sparkling accessory that represents your love! Let’s bring back that beautiful shine!
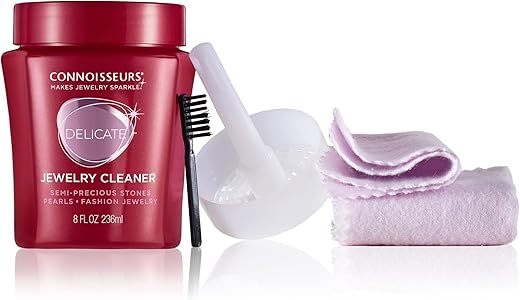
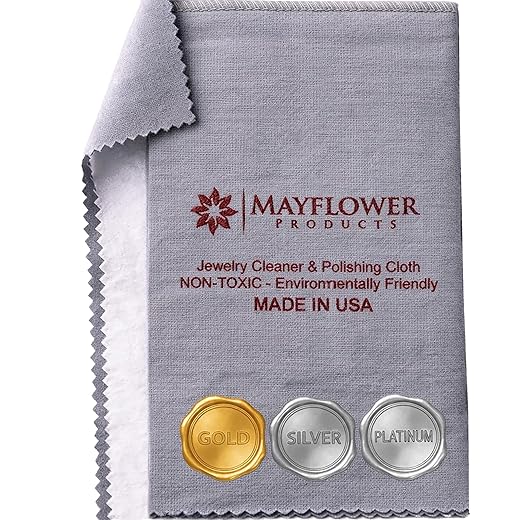
Gather Your Essentials: What You’ll Need
Before you start, make sure you have these materials handy for cleaning and polishing your ceramic wedding band:

Step 1: Gather Your Cleaning Supplies
Don't Start Without the Right Tools!Start by collecting the essentials for your cleaning session. You’ll need mild soap, warm water, a soft cloth, and a toothbrush.
Gather these common household items, and you’re ready to begin!
Step 2: Prepare a Gentle Cleaning Solution
The Secret Sauce for a Stunning Shine!Mix up a cleaning solution that’s both effective and safe for your precious ceramic wedding band. Grab a bowl and fill it with warm water—not hot! Hot water can be damaging, so keep it comfortably warm.
Next, add a few drops of mild soap to the water. Think of gentle dish soap or baby shampoo; these won’t harm your band while lifting away dirt. As you stir the mixture, visualize the grime and sweat from daily wear dissolving away.
For a fun twist, imagine this solution as a soothing bath for your ring. It’s like giving it a mini spa day! Once everything is mixed well, you’re ready for the next step. Your ceramic band will thank you!
Step 3: Soak Your Band
Give It a Spa Day!Place your ceramic wedding band in the soapy solution you just prepared. Let it soak for about 10 minutes. This soaking time is crucial—it allows stubborn dirt and grime to loosen up. Picture your ring relaxing in a warm bubble bath, just as you would after a long day!
During this soak, any accumulated oils and residues from daily wear will begin to break down. Think of what you may find on your band—everything from skin oils to dust—gathered together like a small story of your journey.
Once the time is up, retrieve your band from the solution, but hold off on scrubbing just yet. This crucial step sets the stage for easy cleaning ahead. Enjoy knowing you’re one step closer to reviving that beautiful shine!
Step 4: Gently Scrub the Band
Time to Show Off Your Arm Power!Take a soft cloth or a clean, soft-bristled toothbrush and dip it into the soapy solution. Now, it’s time for the scrubbing magic!
Gently scrub your band in circular motions. This technique ensures you’re effectively lifting away any dirt without risking scratches on that smooth, gleaming surface. Imagine giving your ring a tender massage; this method is not just effective but also kind to your precious piece.
Focus on the areas where grime might linger—around the edges and under any grooves. If you notice stubborn spots, don’t hesitate to give them a little extra attention. A light touch is key, so remember, patience is your friend here.
After a few minutes of gentle scrubbing, you’ll see the difference—your band is already beginning to look brighter!

Step 5: Rinse and Dry
The Moment of Truth – Is It Shiny Yet?Rinse your band under cool running water to wash away the soapy solution and any loosened grime. Hold the ring firmly yet gently, allowing the water to flow over it. Picture it as a refreshing shower for your cherished accessory, washing away the day-to-day wear.
Pat your band dry with a soft cloth—preferably a microfiber cloth to avoid scratches. This gentle dab will help emphasize that glossy shine you love. Imagine your ceramic wedding band soaking up the love and care as you dry it off, revealing its true luster.
Avoid air-drying, as this can leave spots or watermarks. Once you’ve dried it thoroughly, you’re one step away from achieving that radiant finish!
Step 6: Polish for That Extra Gleam
Why Settle for Less When You Can Shine Brighter?Buff your band with a dry microfiber cloth for a final touch that enhances the shine. Wrap the cloth around your fingers and gently rub the surface of your ceramic wedding band in smooth, circular motions.
Focus on each section—the edges, center, and any grooves—to ensure even polishing. Imagine you’re giving your ring a refreshing makeover, bringing back that ‘just bought’ sparkle!
You might notice how the cloth lifts away any final dust particles while also blending in the shine. Take a moment to admire the transformation. It’s the little details, like this polishing step, that truly elevate your band to its full brilliance. Trust me, that gleam will make you fall in love all over again!

Celebrate Your Sparkling Success!
You’ve successfully transformed your ceramic wedding band into a sparkling symbol of your love. Regular cleaning will keep it shining bright for years to come! Give it a try, and don’t forget to share your results—your beautiful band deserves to shine in the spotlight!