Welcome to Your Perfect Fit!
Discover how to resize your ring effortlessly with our simple guide. Follow these six easy steps to ensure your beloved piece fits just right, enhancing your comfort and style!
What You’ll Need

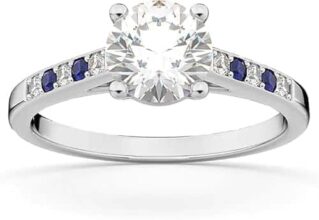
Step 1: Measure Your Current Size
Are You Wearing the Right Size? Let’s Find Out!Start by measuring your current ring size using a ring sizer or a simple method with a piece of string. This crucial first step sets the foundation for the perfect fit!
Here’s how to do it:
- Using a Ring Sizer: If you have a ring sizer, slide your ring onto it until it fits snugly but comfortably. Note the size indicated.
- Using a String: If you don’t have a sizer, grab a piece of string or a strip of paper.
- Wrap it around the base of your finger, marking the point where it overlaps.
- Measure the length from the end of the string to your mark.
- Calculate Your Size: Use a ring size chart to convert the measurement to a standard ring size.
Now you have your current size—let’s move on to finding your new size!

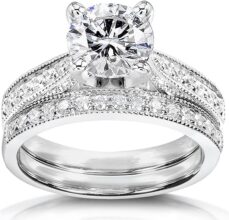
Step 2: Decide on Your New Size
Ready for a Change? Let’s Determine Your Ideal Size!Based on your measurements, decide if you want to increase or decrease the size of your ring. Understanding how much to adjust is key to avoiding future resizing.
- Think about Comfort: If your ring currently feels tight, consider going up half a size. Conversely, if it spins on your finger or feels loose, you might want to go down a half size.
- Consider the Season: Remember that your finger size can change with the temperature or time of day. In warmer months, your fingers may swell slightly. Make note of this when choosing a new size.
- Try It Off: If possible, try on rings from friends or visit a jeweler to see how different sizes feel. This hands-on approach can help solidify your decision.
Now that you’ve decided on the new size, let’s choose the best method to resize your ring!

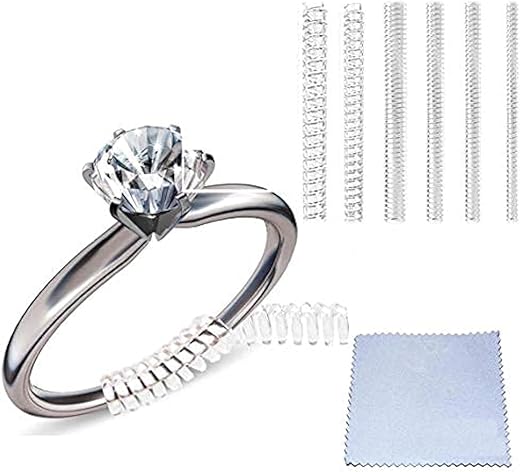
Step 3: Choose a Resizing Method
The Right Method for a Flawless Finish!Explore different resizing options: professional resizing, DIY methods, or using resizing beads. Each choice has its pros and cons, so think about your comfort level and budget before proceeding.
- Professional Resizing: This is the safest option for high-value rings or intricate designs. A jeweler will use specialized tools to accurately resize your ring. This method ensures a perfect fit and maintains the integrity of the piece.
- DIY Methods: If you’re feeling adventurous, you can try resizing at home using a plastic ring sizer kit. However, be cautious—improper methods could damage your ring.
- Resizing Beads: For a quick fix, consider adding resizing beads. They are small and fit inside the band, making older rings more snug without a permanent change.
Choose a method that feels right for you!

Step 4: Prepare Your Ring
Time to Get Hands-On! Care and Precautions Matter!Before diving into the resizing process, clean and prepare your ring to ensure you work with no distractions or damage. This step lays the groundwork for a successful resizing experience!
Clean Your Ring: Gently clean your ring with warm soapy water and a soft brush to remove any dirt or oils. Rinse thoroughly and dry it with a soft towel.
Inspect for Damage: Check for any chips, cracks, or loose stones. If you notice any issues, consider taking your ring to a professional jeweler for repairs before resizing.
Set Up Your Workspace: Create a clean, well-lit area to work in. Use a soft surface, like a cloth, to catch any tools or materials that might slip away, protecting your ring.
With your ring clean and workspace ready, you’re all set to resize your ring!
Step 5: Resize the Ring
Transforming Your Ring: A Simple Guide to Adjusting Size!Follow the chosen resizing method carefully. Handle your ring with care—this is where your precise adjustment takes shape!
- For Professional Resizing: If you’ve opted for a jeweler, simply bring your ring in and communicate your desired size. They will use specialized tools to make the adjustment effectively, ensuring a perfect fit.
- For DIY Methods: If you’re resizing at home, use the plastic ring sizer to carefully alter the size. Remember to turn the ring slowly and steadily, avoiding any force that might damage it.
- If Adding Beads: Use pliers to gently place the resizing beads inside the band. Ensure they fit snugly against the inner surface for the best hold.
Take your time during this step to achieve comfort. A precise adjustment now saves you from future hassles!

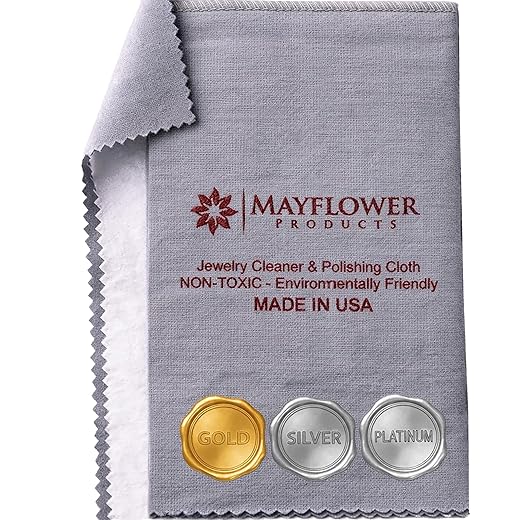
Step 6: Final Adjustments and Cleaning
Polish Up for the Perfect Finish! You’re Almost There!Once resized, check for comfort by trying the ring on again. Spin it around your finger to ensure it doesn’t pinch or slide off. If it feels a bit tight or loose, make minor adjustments as needed.
After confirming the fit, clean your ring thoroughly to restore its shine. Use a mixture of warm water and mild soap, gently scrubbing it with a soft toothbrush, focusing on crevices where dirt may hide. Rinse well and dry it with a microfiber cloth.
Polish your ring with a jewelry polishing cloth to add that extra sparkle. Finally, consider applying a light coat of jewelry-safe protective polish to guard against scratches and tarnishing during everyday wear. Enjoy showing off your beautifully resized ring!
Enjoy Your Perfect Fit!
Now that you’ve resized your ring, wear it with confidence! Give these steps a try anytime you need a size adjustment, and don’t forget to share your results with friends. Happy wearing!